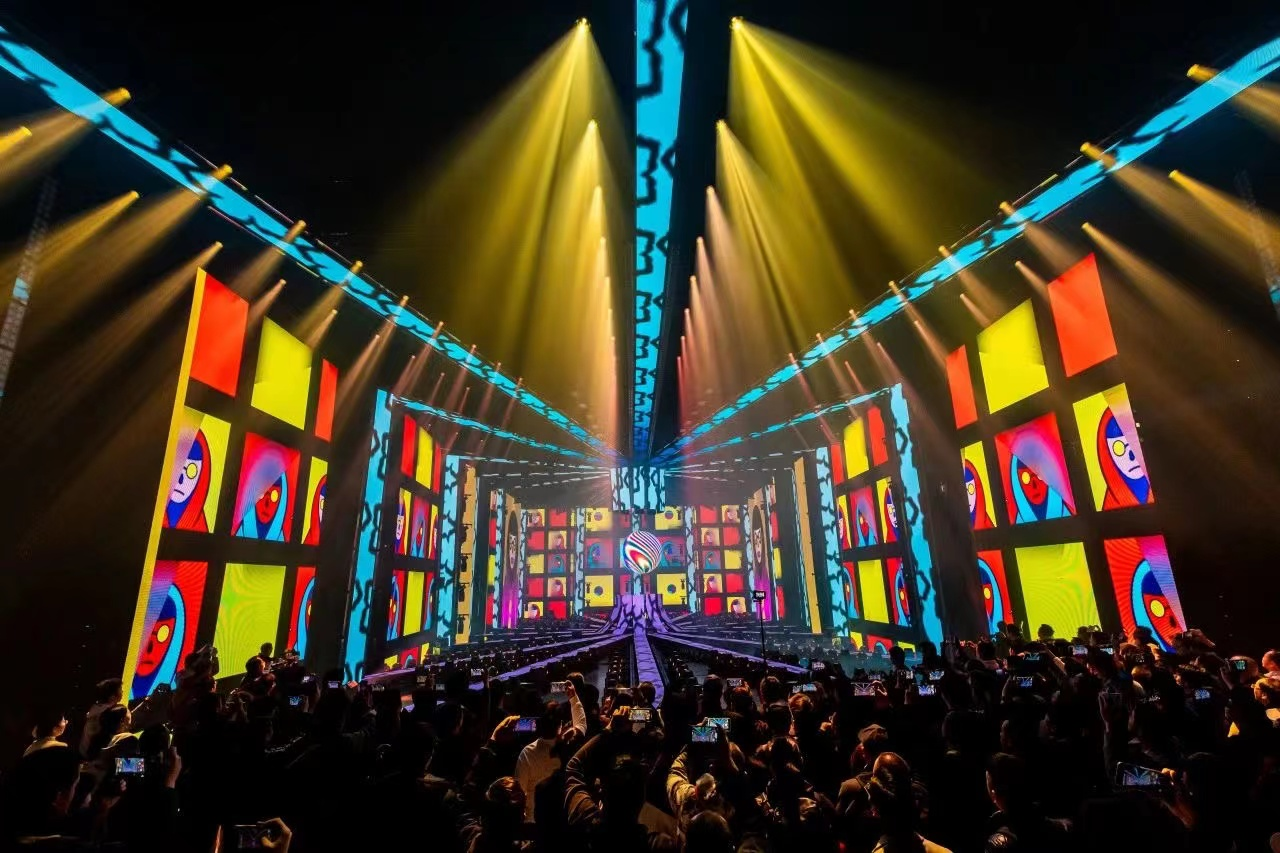
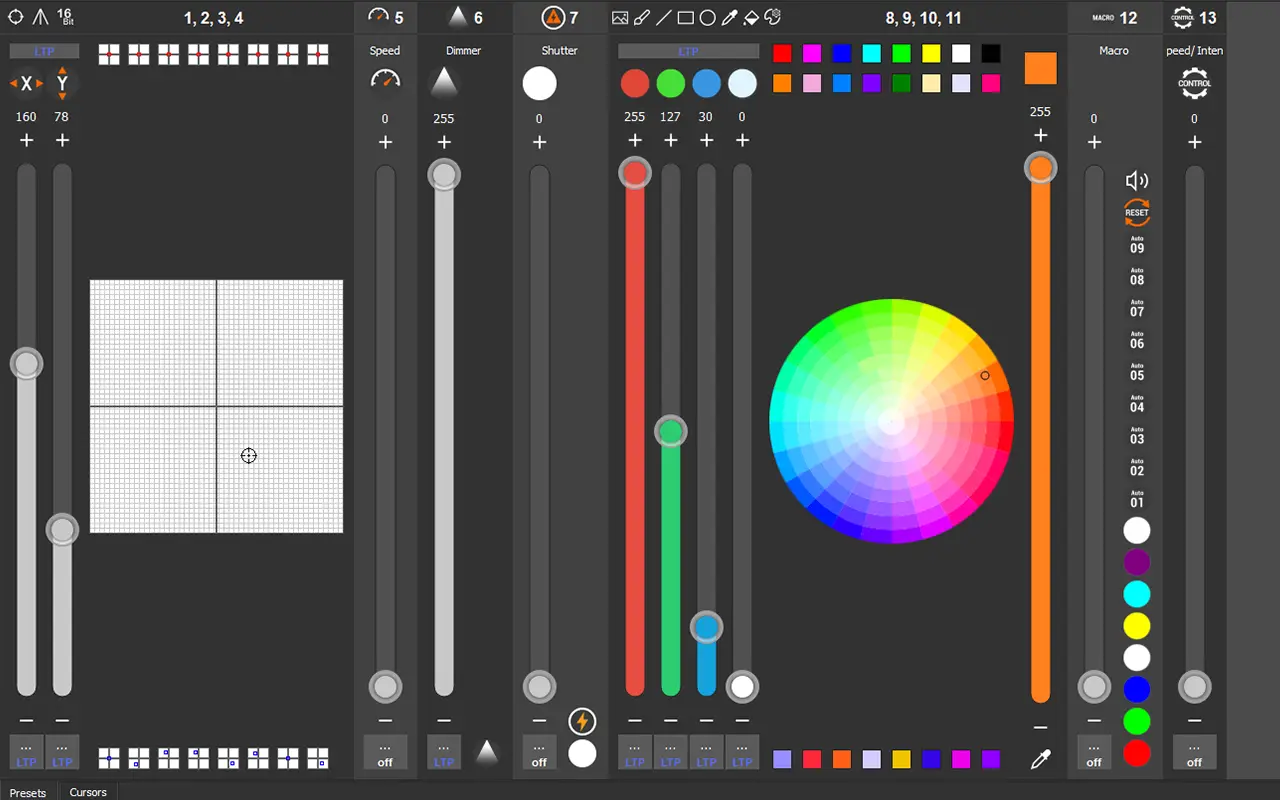
When lighting fixtures are grouped — by type, position, or role — timing becomes one of the most powerful tools in shaping their effect. Fade timing determines how quickly or gradually fixtures transition from one state to another, and when handled effectively, it adds depth, emotion, and rhythm to a lighting cue.
This article explains how to program fade timing for grouped fixture effects in a way that enhances visual impact, maintains show clarity, and improves audience perception.

Why Fade Timing Matters in Grouped Lighting
In live shows, grouped fixtures are often treated as a single visual element — for example:
Wash fixtures across the upstage wall
Spotlights on the chorus line
LED bars outlining the stage truss
Backlights on string players in an orchestra
If these fixtures fade in or out too quickly, the result can feel abrupt or mechanical. If too slowly, transitions may feel muddy or unintentional.
Key benefits of carefully tuned fade timing include:
Visual softness for emotional or ambient scenes
Layered reveals for complex sequences
Time-coded precision in music-synced shows
Energy management, reducing peak power draw during rapid cues
Core Parameters of Fade Timing
Before programming, understand the core terms:
Fade In Time: How long it takes a fixture to go from 0% to its programmed intensity
Fade Out Time: How long to dim from current intensity to 0%
Delay Time: The offset before a fixture begins fading, used to stagger effects
Grouping Logic: Whether fades occur per fixture, per group, or globally
Lighting consoles and software (e.g., MA2/3, Avolites, Chamsys) allow per-fixture and per-parameter fade control.

Strategies for Setting Fade Timing
1. Match Fade Speed to Scene Emotion
| Scene Type | Recommended Fade Time (ms) |
|---|---|
| Soft romantic cue | 1500–3000 |
| Uplifting reveal | 700–1200 |
| Percussive hits | 200–500 |
| Ambient effects | 3000+ |
Slower fades = subtle, immersive
Faster fades = energetic, punchy
2. Use Staggered Delay for Depth
By adding staggered delay times to each fixture or group, you create a “wave” or “ripple” effect without complex chases.
Example:
Group 1 (Left): Delay 0ms
Group 2 (Center): Delay 250ms
Group 3 (Right): Delay 500ms
This simulates motion, even if intensity is the only parameter changing.
3. Vary Per-Group Timing for Hierarchy
Different fixture groups can use different fade times for narrative layering.
Example:
Lead singer keylight: 500ms
Side wash: 1200ms
Background truss: 2000ms
This ensures the eye lands first on the focal point, then absorbs supporting layers.
4. Integrate Timing into Preset Palettes
If your console allows, embed fade timing into preset pallets or effects macros. This ensures timing travels with your cues and reduces repetition during programming.
Programming Across Different Fixture Types
Different types of lights respond differently to the same fade times. A 200W LED Fresnel may dim linearly, while a beam light may exhibit stepping or latency.
Best practices:
Test fade results with each group independently
Match dimming curves (linear, square, S-curve) when possible
Balance fixture response speed — avoid mixing slow and fast dimming heads without compensating with timing
Common Programming Mistakes
| Mistake | Result |
|---|---|
| Same fade time across all fixtures | Flat, mechanical look |
| Overlapping fades with delay | Inconsistent rhythm |
| Using abrupt 0ms fades on washes | Jarring visual cuts |
| Ignoring motor parameters (e.g., pan) | Incomplete visual fade |
In high-resolution programming, even 1/10 second differences in timing can be perceptible to the audience.
Visual Timing Case Studies
Example 1: Opening a scene with 5 downstage profiles
All fade in over 3s with 0.5s stagger
Creates elegant reveal with focal direction from center outward
Example 2: Percussion accent in EDM show
LED strip groups flash with 300ms fade in, 100ms fade out
Produces “thump” sensation aligned with bass hit
Example 3: Dramatic blackout
Main scene fades out in 800ms
Backlight fades in over 2000ms
Establishes eerie silhouette and breathing room
Tools to Assist with Timing
Timeline editors (e.g., MA3 Timecode, Resolume Arena): visualize fades graphically
Cue stack playback: test transitions in controlled loops
Offline editors: pre-program at home or office
Group masters / executor faders: override entire group fades on the fly
Conclusion
Fade timing for grouped fixtures is about more than numbers — it's about rhythm, hierarchy, and emotion. By using fade and delay strategically, designers can unlock smooth transitions, cinematic texture, and dynamic storytelling.
Whether you're lighting ballet, EDM, or corporate theater, timing is your brushstroke — shaping not just what the audience sees, but how they feel when they see it.

READ MORE:


Blue Sea Lighting is an enterprise with rich experience in the integration of industry and trade in stage lighting and stage special effects related equipment. Its products include moving head lights, par lights, wall washer lights, logo gobo projector lights, power distributor, stage effects such as electronic fireworks machines, snow machines, smoke bubble machines, and related accessories such as light clamps.
Quick Links
For more questions subscribe to our email


