Introduction: Understanding the Importance of a Professional Stage Lighting Plot
In modern entertainment productions, concerts, theaters, corporate events, churches, and architectural performances, professional lighting design plays a critical role in creating immersive visual experiences. A well-prepared stage lighting plot is the foundation of every successful lighting project. It allows lighting designers, technicians, rental companies, and installation teams to clearly understand fixture positions, control requirements, and performance expectations.
A professional stage lighting design drawing is not only a technical document but also a communication tool between designers, engineers, and clients. Through accurate drawings, every lighting fixture can be positioned correctly before installation, reducing errors, saving time, and improving project efficiency.
A complete stage lighting layout should include fixture locations, hanging positions, lighting directions, circuit information, DMX addresses, power requirements, and control system details. For large-scale productions, accurate planning is essential to achieve balanced illumination, dynamic effects, and reliable operation.
As a professional stage lighting manufacturer, Blue Sea Lighting provides professional lighting solutions and supports global partners with advanced product technology and customized project assistance.
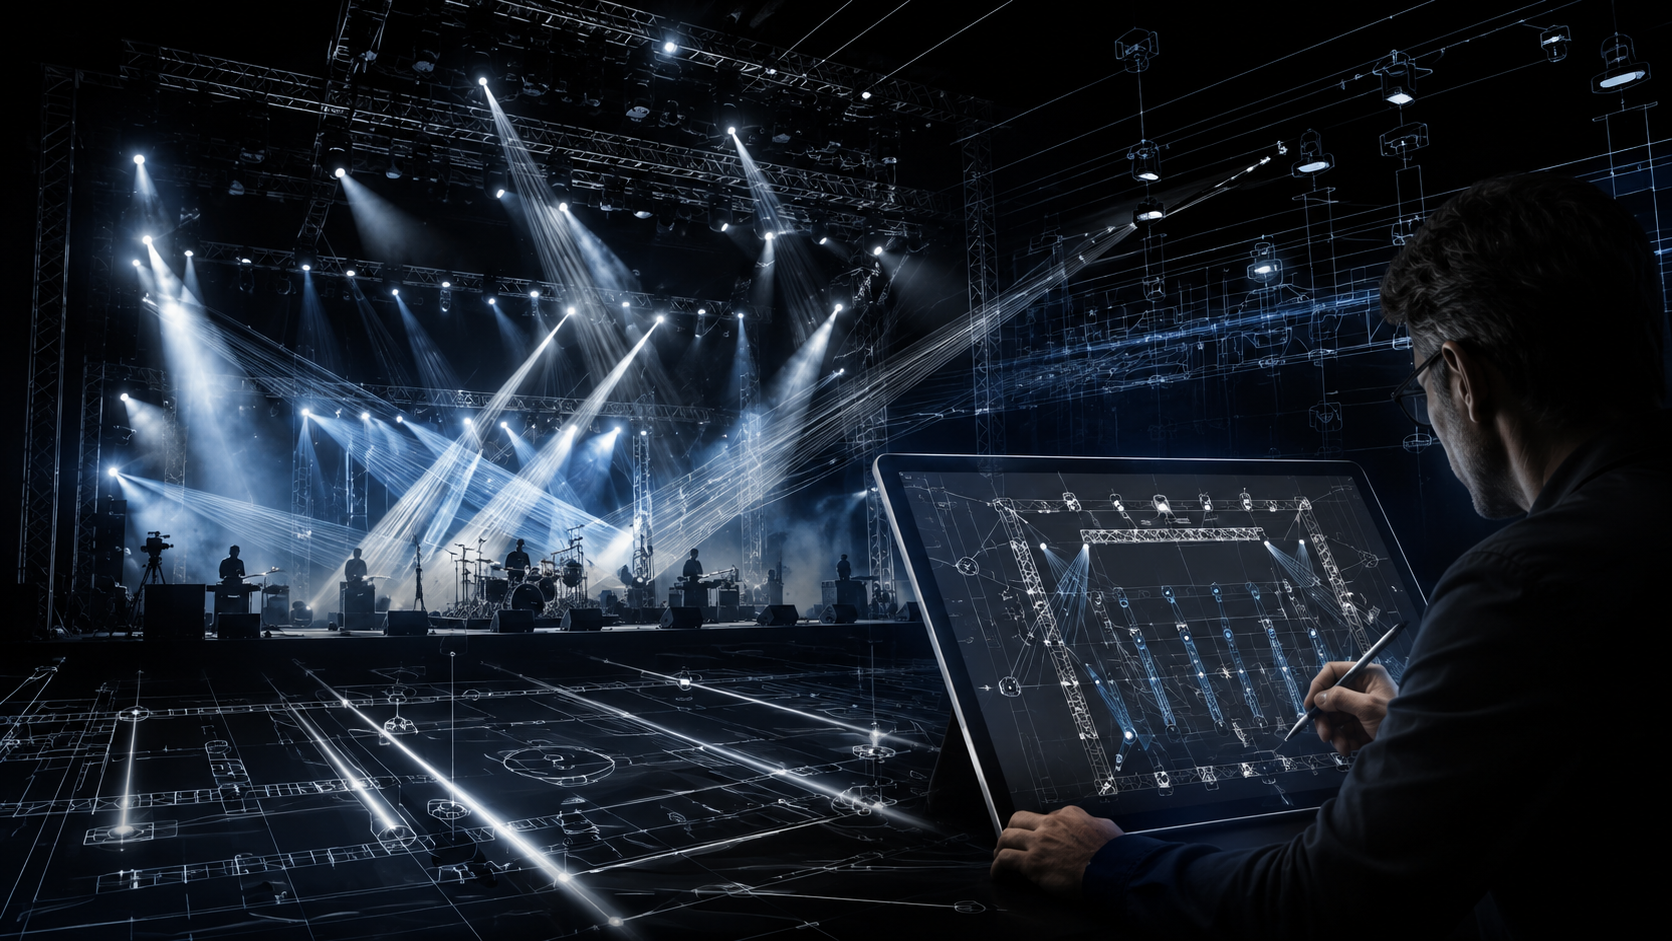
1. Stage Lighting Plot Standards: Understanding Symbols and Identification Methods
The Importance of Standard Lighting Symbols
One of the most important elements in creating a professional stage lighting plot is using standardized lighting symbols. Clear symbols allow different teams from different countries to quickly understand the design concept and installation requirements.
A lighting plot usually uses simplified graphic symbols to represent different lighting fixtures. These symbols provide information about fixture type, beam direction, mounting position, and control method.
Common stage lighting symbols include:
| Lighting Fixture | Symbol Information | Application |
|---|---|---|
| PAR Light | Circle with directional beam mark | Front lighting, wash lighting, color effects |
| Moving Head Beam | Rotating fixture icon with beam direction | Dynamic aerial effects |
| Moving Head Spot | Fixture symbol with narrow beam indicator | Gobo projection and focused lighting |
| Moving Head Wash | Wide beam symbol | Large area coverage |
| Fresnel Light | Lens symbol with soft beam angle | Theater and stage illumination |
| Profile Spotlight | Elliptical lens symbol | Precise framing and projection |
| LED Bar Light | Rectangular fixture symbol | Pixel effects and stage decoration |
| Follow Spot | Spotlight symbol with operator position | Performer tracking |
A professional designer should maintain consistency throughout the entire drawing. Every symbol should have a clear explanation in the legend section.
Essential Information Included in a Lighting Plot
A complete stage lighting design drawing normally contains the following information:
1. Fixture Number
Each lighting fixture should have a unique identification number.
Example:
PAR-01
MH-01
PROFILE-03
LED BAR-05
This helps technicians quickly locate and patch fixtures during installation.
2. Fixture Type
The drawing should clearly indicate:
LED moving head
Beam moving head
Wash moving head
Profile fixture
Strobe light
Laser system
Different fixtures have different functions, so correct identification is essential.
3. Hanging Position
Lighting designers should mark:
Front truss
Back truss
Side boom
Ground position
Floor stand
Ceiling installation
This ensures the installation team understands the exact mounting requirements.
4. Beam Direction
Directional arrows indicate where the light should point.
For example:
Front lights point toward performers
Back lights create separation effects
Side lights enhance body shape
Moving heads provide dynamic movement
2. Stage Lighting Layout Logic: How to Position PAR Lights and Moving Head Fixtures
Planning the Stage Coordinate System
Before placing fixtures, designers need to establish a coordinate system based on the stage plan.
A typical stage lighting layout includes:
Stage width (X axis)
Stage depth (Y axis)
Fixture height (Z axis)
For example:
A stage measuring:
Width: 12 meters
Depth: 8 meters
Height: 6 meters
can be divided into different lighting zones.
The coordinate system allows designers to accurately assign fixture positions.
PAR Light Placement Strategy
PAR lights are commonly used for basic stage coverage. They provide stable color washes and are suitable for performers, background areas, and decorative lighting.
Front PAR Lighting
Front lighting is mainly responsible for:
Facial visibility
Performer illumination
Natural color reproduction
Example coordinate planning:
| Fixture | X Position | Y Position | Height |
|---|---|---|---|
| PAR-01 | -4m | -5m | 5m |
| PAR-02 | -2m | -5m | 5m |
| PAR-03 | 0m | -5m | 5m |
| PAR-04 | 2m | -5m | 5m |
| PAR-05 | 4m | -5m | 5m |
This arrangement creates even front coverage.
Moving Head Lighting Layout Design
Moving heads provide:
Beam effects
Gobo projection
Dynamic movement
Color changing
Special effects
When designing a moving head layout, designers should consider:
1. Beam Coverage
Beam fixtures should be positioned to avoid overlapping too much.
Example:
Left moving head:
Coordinate: (-5m, 2m, 6m)
Center moving head:
Coordinate: (0m, 3m, 6m)
Right moving head:
Coordinate: (5m, 2m, 6m)
This creates balanced aerial effects.
2. Stage Function Areas
A professional stage lighting layout divides the stage into different zones:
Performer Area
Requires:
Soft wash lighting
Accurate color rendering
Facial illumination
Background Area
Requires:
LED pixel effects
Color transitions
Decorative lighting
Special Effect Area
Requires:
Beam moving heads
Strobes
Lasers
Proper zoning improves visual depth and production quality.
3. Using Software Tools for Professional Lighting Simulation
Modern lighting design relies heavily on digital simulation software. Before physical installation, designers can create realistic 3D environments to test lighting effects.

WYSIWYG Lighting Design Software
WYSIWYG (What You See Is What You Get) is one of the most popular professional lighting design platforms.
It allows designers to:
Build 3D stage models
Import lighting fixtures
Position trusses and equipment
Simulate beams and colors
Calculate lighting coverage
Create technical drawings
Advantages:
Realistic Visualization
Designers can preview:
Beam angles
Color effects
Movement patterns
Stage atmosphere
before the actual event.
Accurate Documentation
WYSIWYG can generate:
Lighting plots
Fixture schedules
Cable plans
Equipment lists
This greatly improves communication between designers and technicians.
DIALux Lighting Simulation
DIALux is another powerful lighting simulation tool widely used in architectural and commercial lighting projects.
It helps designers analyze:
Light distribution
Illuminance levels
Energy efficiency
Spatial brightness
For stage and architectural applications, DIALux can help evaluate:
Building facade lighting
Outdoor event illumination
Large venue lighting requirements
4. Professional 3D Lighting Design Support from Blue Sea Lighting
For large-scale B2B customers, professional lighting planning can significantly improve project success.
Many customers require customized solutions for:
Concert venues
Entertainment clubs
Outdoor events
Theaters
Rental companies
Architectural lighting projects
Blue Sea Lighting provides professional 3D lighting design support for qualified bulk purchasing customers.
Our design support includes:
Customized Stage Lighting Layout
Based on project requirements, we can help customers create:
Fixture placement plans
Stage lighting layouts
Beam coverage analysis
Equipment recommendations
3D Visualization Design
Before purchasing, customers can preview:
Final lighting atmosphere
Fixture arrangement
Beam effects
Installation structure
This helps customers make better purchasing decisions.
Complete Lighting Solution
Our technical team can provide:
Product selection suggestions
Lighting system planning
Control system recommendations
Installation guidance
A professional lighting design drawing reduces project risks and ensures every fixture delivers maximum performance.
Conclusion: Create Better Productions with Professional Lighting Planning
A successful lighting project starts with a detailed and accurate stage lighting plot.
By following professional drawing standards, applying correct stage lighting symbols, optimizing fixture coordinates, and using advanced simulation software, designers can create efficient and visually impressive lighting systems.
Whether for concerts, theaters, commercial venues, or outdoor events, a professional stage lighting design drawing helps transform creative ideas into reliable real-world installations.
With advanced manufacturing capabilities and professional technical support, Blue Sea Lighting continues to provide high-quality lighting solutions and customized design assistance for global stage lighting professionals.



Blue Sea Lighting is an enterprise with rich experience in the integration of industry and trade in stage lighting and stage special effects related equipment. Its products include moving head lights, par lights, wall washer lights, logo gobo projector lights, power distributor, stage effects such as electronic fireworks machines, snow machines, smoke bubble machines, and related accessories such as light clamps.
Quick Links
For more questions subscribe to our email